Greetings again everyone.
Several weeks ago I published a blog here, and on several Wood Turning Forums, relating to my experience where I turned through the bottom of a Natural Edge Bowl. This, mostly the result of using a vacuum chuck while finishing the bottom while not being able to tell exactly where the bowl bottom (inside and hidden by the vacuum chuck) actually was.
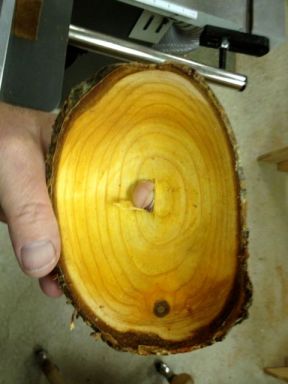
I didn’t know how to locate the bottom and so I posted the question on a few of my favourite Wood Turning Forums and got lots of suggestions but most were aimed at finding the depth(bottom) before the bowl is reversed onto a vacuum chuck.
The main problem as I see it, is once the bowl is mounted to a vacuum chuck the bottom is totally hidden and unavailable to the turner.
With this in mind I decided “what the heck, I’ll try to design and make one myself”.
I have included a few photos that I hope will help you understand what I made and how to make your own should you decide it would be helpful. I’m sure there are some engineers out there who can polish my design but I am but a lowly wood butcher.
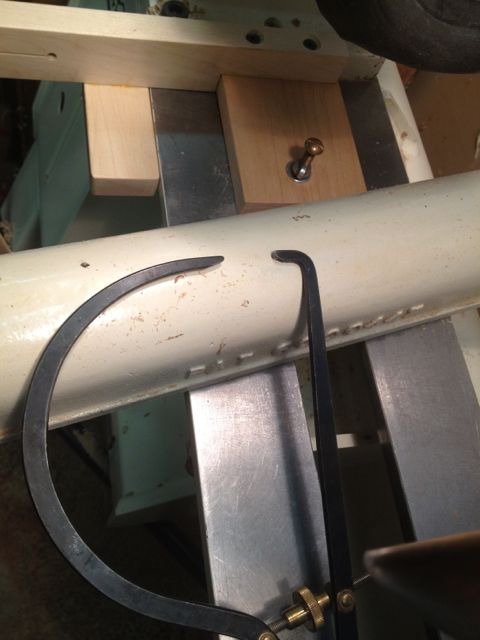
I decided what I would need first was a reference point on the lathe which I could measure from. My lathe bed does not extend past the Head Stock so I was unable to just mark it, this would have been a plus. Here’s the point I decide to use.

Next I needed is a measuring stick, I made mine from a 1/2″ wooden dowel. This dowel needs to be long enough and a small enough diameter that will allow it to reach through your headstock when a vacuum chuck is installed and onto the bottom of the bowl. I made mine about 22″ long.
You can see the ‘hatched’ section on the dowel. This is the distance from the outboard end of my headstock drive shaft to the reference point. I put a fine notch in the dowel at that point and highlighted it with a black felt pen to give me a fine reference line.

Next a ‘Stopper”‘ is required which can slide along the dowel against the outboard end of the drive stock to indicate the exact distance from the outboard end of the drive stock to the inside bottom of the bowl. This stopper needs to fit snug on the dowel so it will stay in place when moved. As you can see, I drilled a hole slightly smaller than the dowel then I added a band saw cut to small hole to allow the sides to flex and hold tight to the dowel.

Here’s the stopper on the dowel and inserted through the drive stock.

With the bowl in place and pressed against the vacuum chuck by the Tail Stock,
 insert push the dowel through the headstock and the vacuum chuck until it touches the bottom of the bowl. Then slide the “Stopper” along the dowel until it touches the outboard end of the Head Stock Drive Spindle, this gives what I call the offset distance. That is, the distance between the reference line on the dowel and the ‘stopper’. Here can be seen that I have set that distance to the left side of the indicator arm.
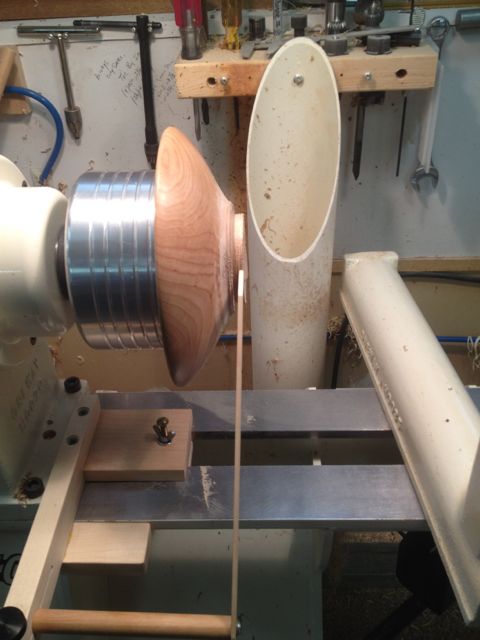
 Next Next thing needed is the heart of the device. A jig that mounts to the lathe (or lathe ways as I did) that can be set to indicate the inside bottom of the bowl.
I made mine from scraps of maple, a dowel (the thicker the better), a threaded insert, a knob and shaft to lock the dowel in place and a few other bits and pieces I found laying around my shop.
Here is a shot of all the parts when the unit was partially assembled.
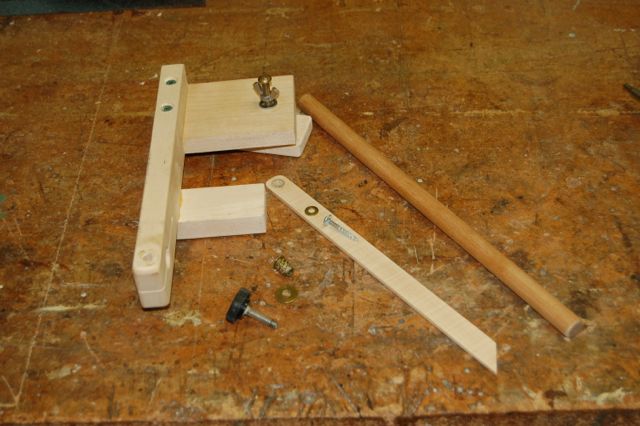
This is a photo of the assembled jig.

I made my jig to ‘lock’ onto my Lathe Ways.
I did this so I can leave it in position and just swing the Indicator Arm up to the bowl whenever I want to check as I finish the the bowl.
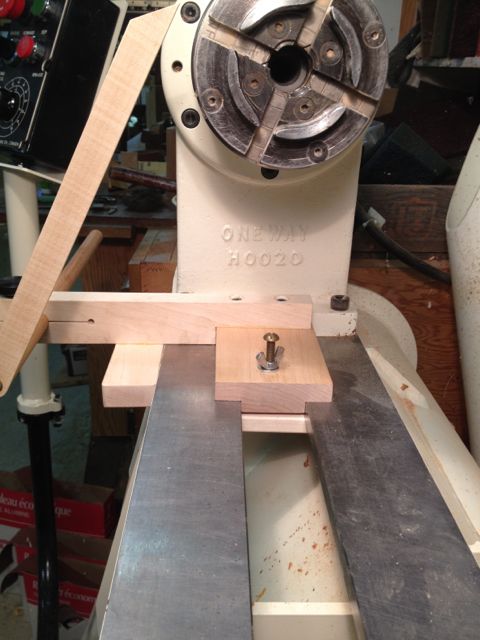
Here’s a photo with the arm swung down out of my way.

And a few photo’s of the jig in action.


And there you have it. I hope this all makes sense, it was much easier to make than to describe. If you have any questions I would be happy to try to answer them for you.




 Next Next thing needed is the heart of the device. A jig that mounts to the lathe (or lathe ways as I did) that can be set to indicate the inside bottom of the bowl.


