woodbowlsandthings

February 13, 2018

Colouring Wood

Filed under: Art, Silver Maple, Wood Lathe — Tags: , , , , , , , — peteblair @ 12:41 pm

I know it’s probably been done to death but here is how I add color and pop to some of my wood turning.
I first start by turning to shape and sanding to about 220.

This piece is destined to have some sort of blow paint applied after the dye and then a shallow bowl turned in the center. I want a dark green for this piece.

Next I apply black Leather Dye.

Once this is dry I then sand it back quite aggressively with 220 grit.

At this point the piece could be complete. Ed Pretty from my Guild has finished at this stage and the piece was wonderful. I plan to go further and on this piece I wanted a little more black so another coat of the Leather Dye.

This is again aggressively sanded back.

I like this better and stopped  here. While most people seem at this point to go with the darker color I sometimes go light first and then the dark. In this case, Yellow and then Blue for the dark green I’m after.

Sanded back again but less aggressively leaving quite a lot of the yellow showing. I then applied the dark blue dye.

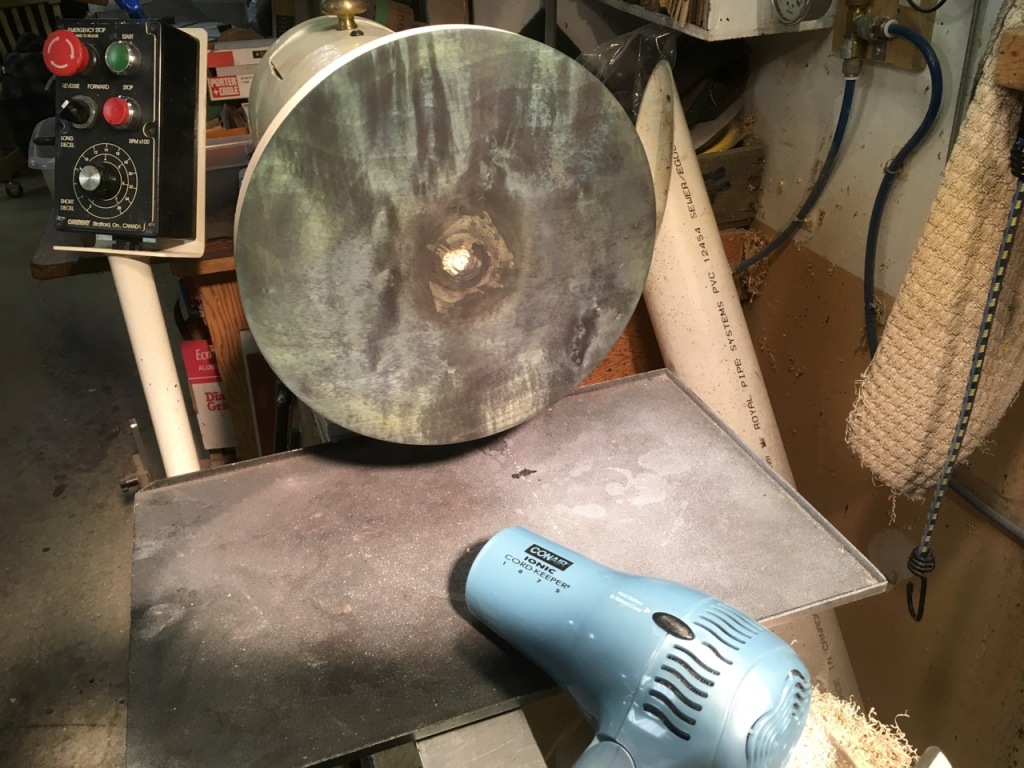
Doesn’t look like too much here but after a very light sanding with 400 here is what I have. A Hair dryer is sometimes used at various stages to hurry the project along.

A couple of coats of sanding sealer with light sanding in between.

Then on to my finishing turntable and a few coats of clear lacquer.

Now all it needs is the blow paint. I’m thinking gold iridescent but I might add a little yellow. Sorry no finished piece yet because I am in Hawaii and this piece will have to wait another week or so for me to get to it. I’ll add photos of the finished piece as soon as I have it done.

February 6, 2018

Horizontal spinner for wood art

Filed under: Art, Silver Maple, Tools, Wood Lathe — Tags: , , , , , , , , , — peteblair @ 7:04 pm

Ok, starting over, yesterday I  began this blog and something went wrong I lost the last half of my text and all my photos . . . . . . .

Greetings again from Kauai. Today we did manage to see and sit in the sun for about 2 hours, now that’s progress.

Wow, two blogs in two days (or three now) I often don’t do two in a year!

Killing time during another rain storm and waiting for spuds to cook on the BBQ.

Todays topic has been rattling around in my head for more than a year. Some time ago I decided I wanted to be able to mount finished or partially finished items on a horizontal speed controlled turntable. This I felt would allow me to add color in a more controlled manner than when I do this on the lathe with the wood vertical. I wanted a device that would spin horizontally, be easy to adjust it’s spin speed, be reversible, be cheap and dependable. This is a photo of my first attempt. I’m utilizing a small chuck I use on my mini because it is easy to get threads to match from readily available bolts and threaded rod not like the M33 on my oneway.
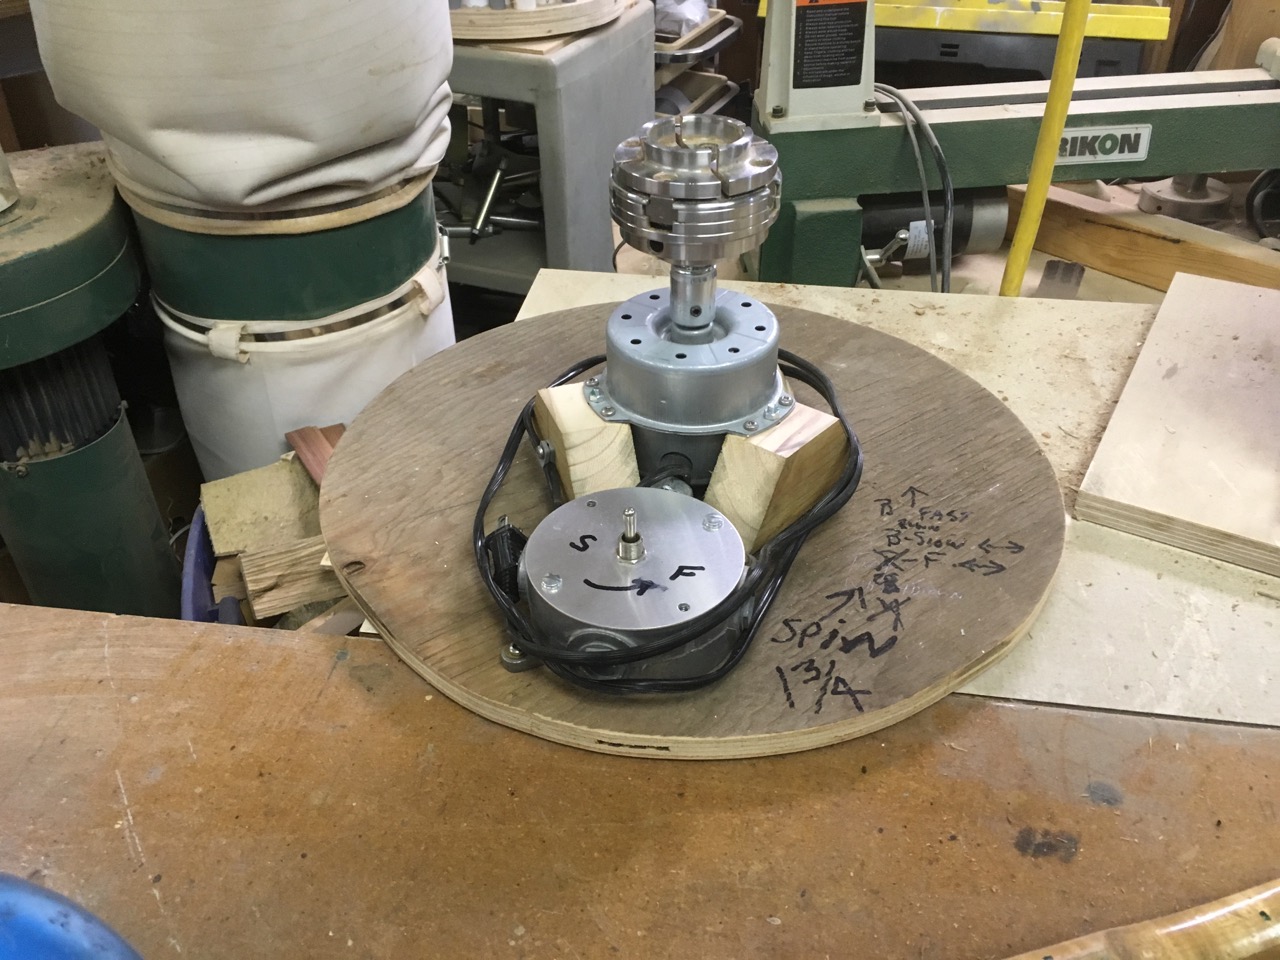
IMG_3844

I started out thinking that I could use a fan motor and have collected a number of them over time but it soon became apparent that they were not as powerful or controllable as I wanted, primarily because they are not ‘brush’ type motors. I then switched my focus to an overhead fan. Knowing that people remove and replace them occasionally I advertised locally for a free used one but had no luck. There were a few that came available for a small cash outlay but being the cheap guy I am I stuck to my guns and decided not to pay for something I wasn’t certain would work for me.

In the end this all worked out for the best. I am known to peruse and buy on line from several local auctions and wound up with a “tool lot” that had an old beat up cord shredded 1/2″ drill. Ok, this should work fine, it was cheap, easy to control speed (brush type motor), reversible and top speed was about 1000 rpm.

I changed my mind about mounting the a lathe chuck directly on a motor as I did with the fan motors and instead decided to use an old Pillow block I had laying around. I took a section of 1″ 8 TPI threaded rod and turned it to fit thought the bearings of the pillow block on my small metal lathe. I turned a short section on one end to 1/2″ so it would be easily gripped by the drill. I then mounted it to a section of plywood and discovered that with a small piece of rubber under the drill it lined up perfectly with the 1/2″ end of the shaft. As can be seen below this tool will now function as a lathe as well should I want to spin wood while finishing it or ????
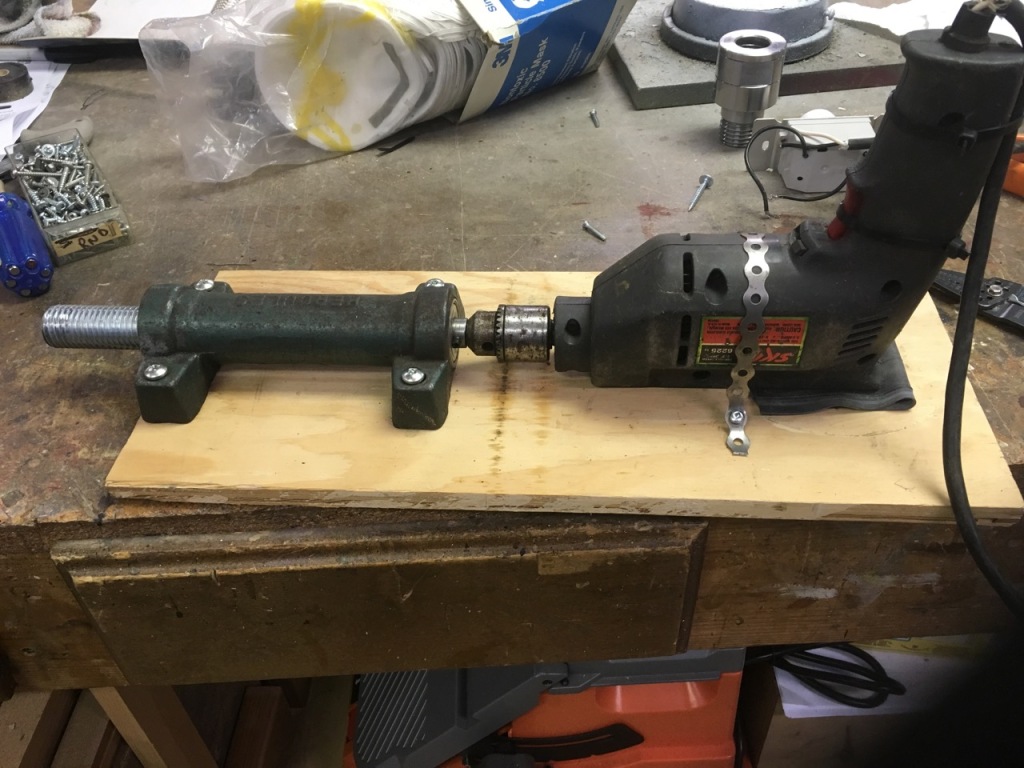
By mounting it on the edge of my heavy bench I thought it just might be able to take the shake it might get if the turned piece wasn’t quite balanced. Much to my surprise it spins with hardly a shake.

For now I am just clamping it to the work bench but soon will add some sort of fastening system. As you can see from the photo I utilized a dimmer switch in the supply line to the drill but soon discovered that I needed to be able to control the speed from above the table.
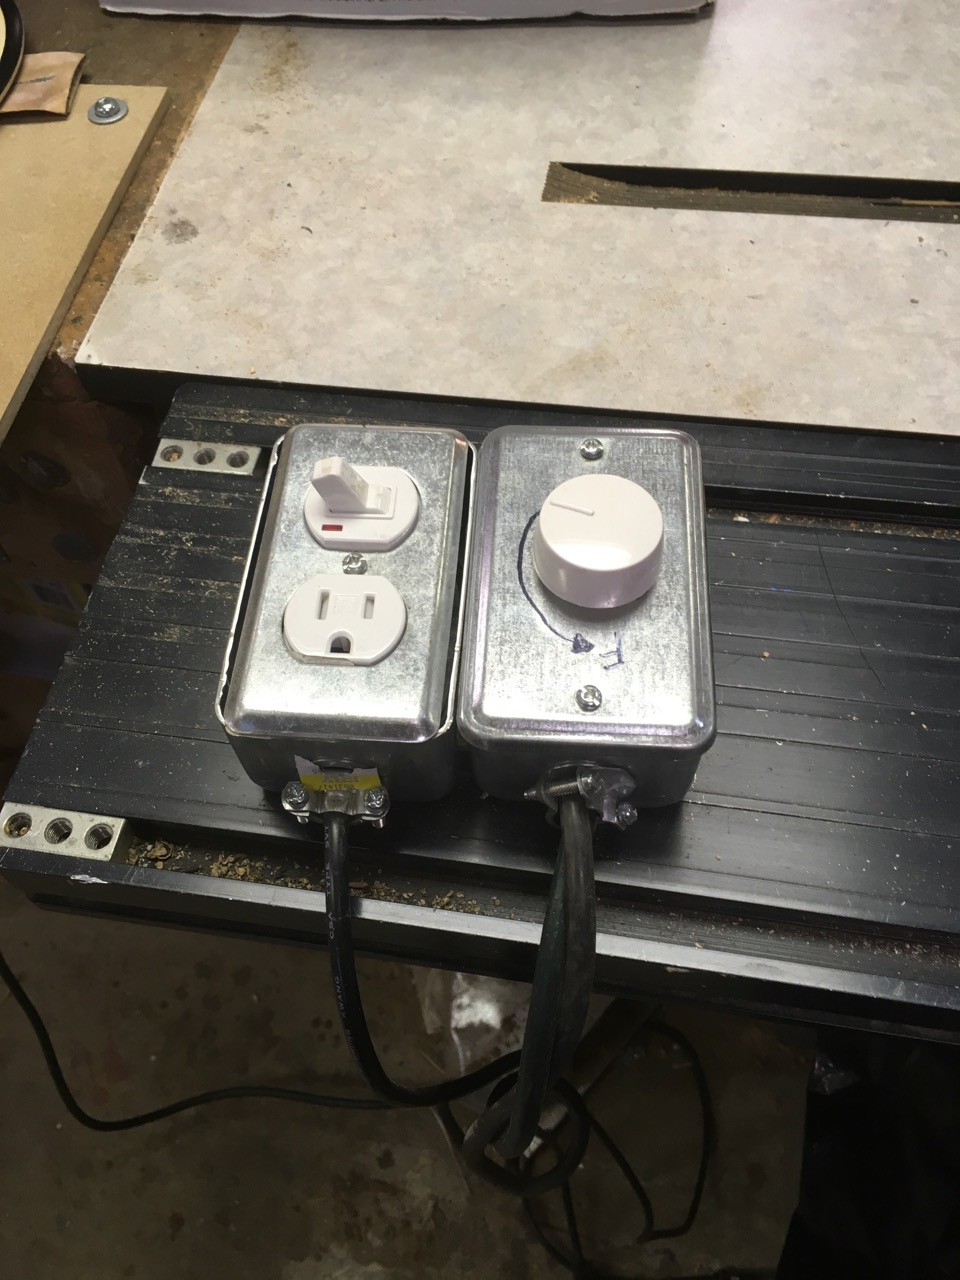
I now have a plug, on/off switch and the dimmer on long leads, these boxes are held together with a couple of magnets which allows me to separate them for storage.

Ok all works great but the dimmer I have, has the off position next to high speed and so I added an on off switch to the plug in box. The only really remaining issue is that I may want to move the reversing switch from the drill handle to the top with the rest of the controls. For now I simply use a small clamp to hold the drill switch in the full on position, and when I want to change the direction of rotation I have to remove the clamp, slide the reversing switch on the drill to the other position and re-clamp the drill switch. When I need to reverse the direction it is never in a situation where it has to happen quickly so this set up may continue to work.

Here’s a shot of my first piece with just a piece of cardboard as a table, I have since added a piece of MDF that screws to my bench top giving me a much more stable work space.

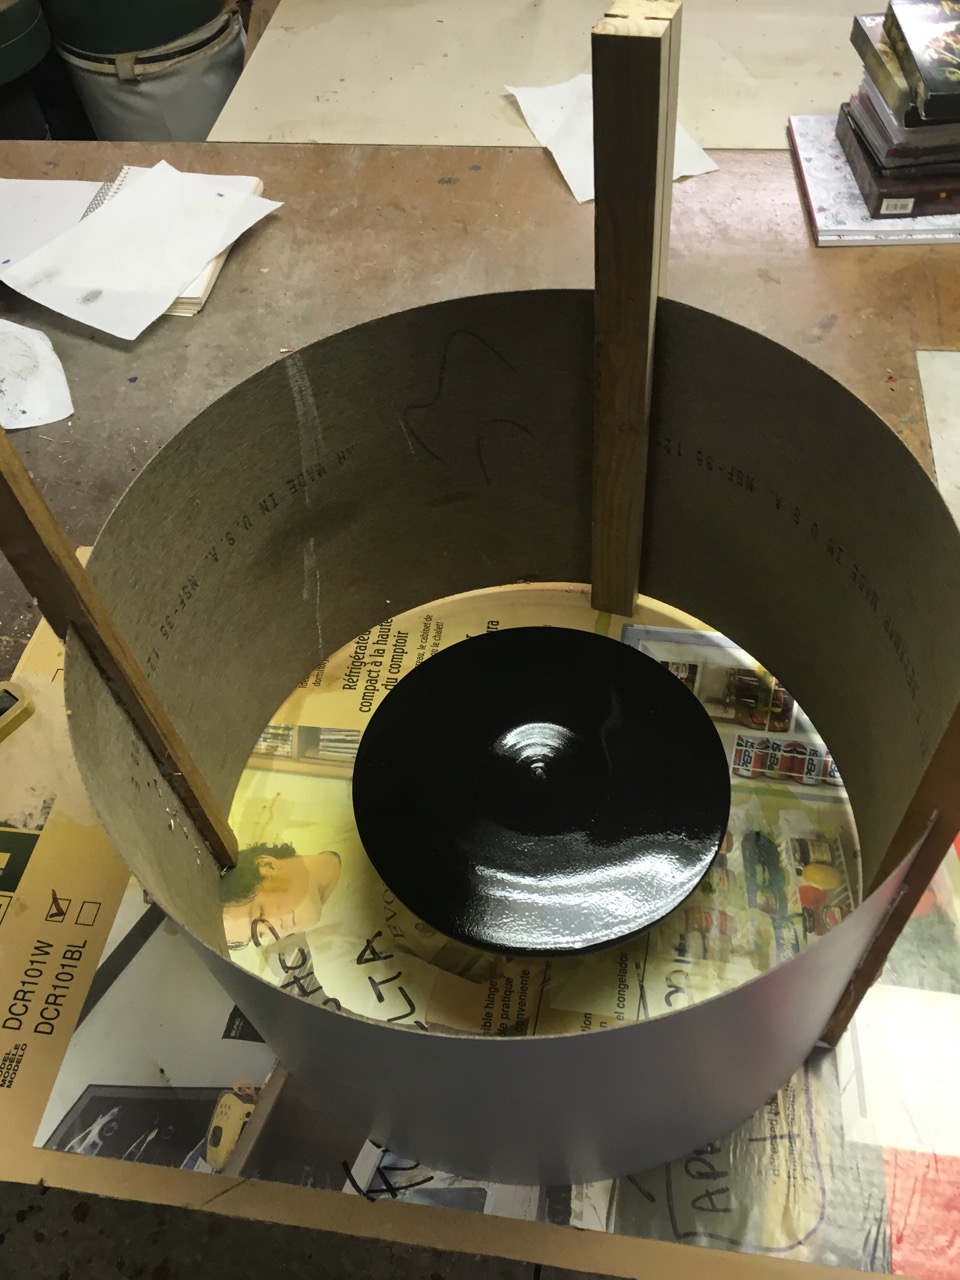
To control the paint/dye splatter I simply cut a couple of slots in a scrap piece of wood and bend a section of plastic laminate into the slots. Easily taken apart for storage. The photo below shows my first try at this when I was working with the fan motor above the bench top. I now have done away with the legs which are redundant.
Here are a few of my first attempts. I don’t consider anything I do a failure just an opportunity to learn. The photo of the unpainted/dyed silver maple was just that. It was easy to remove the unsightly dye and start over.

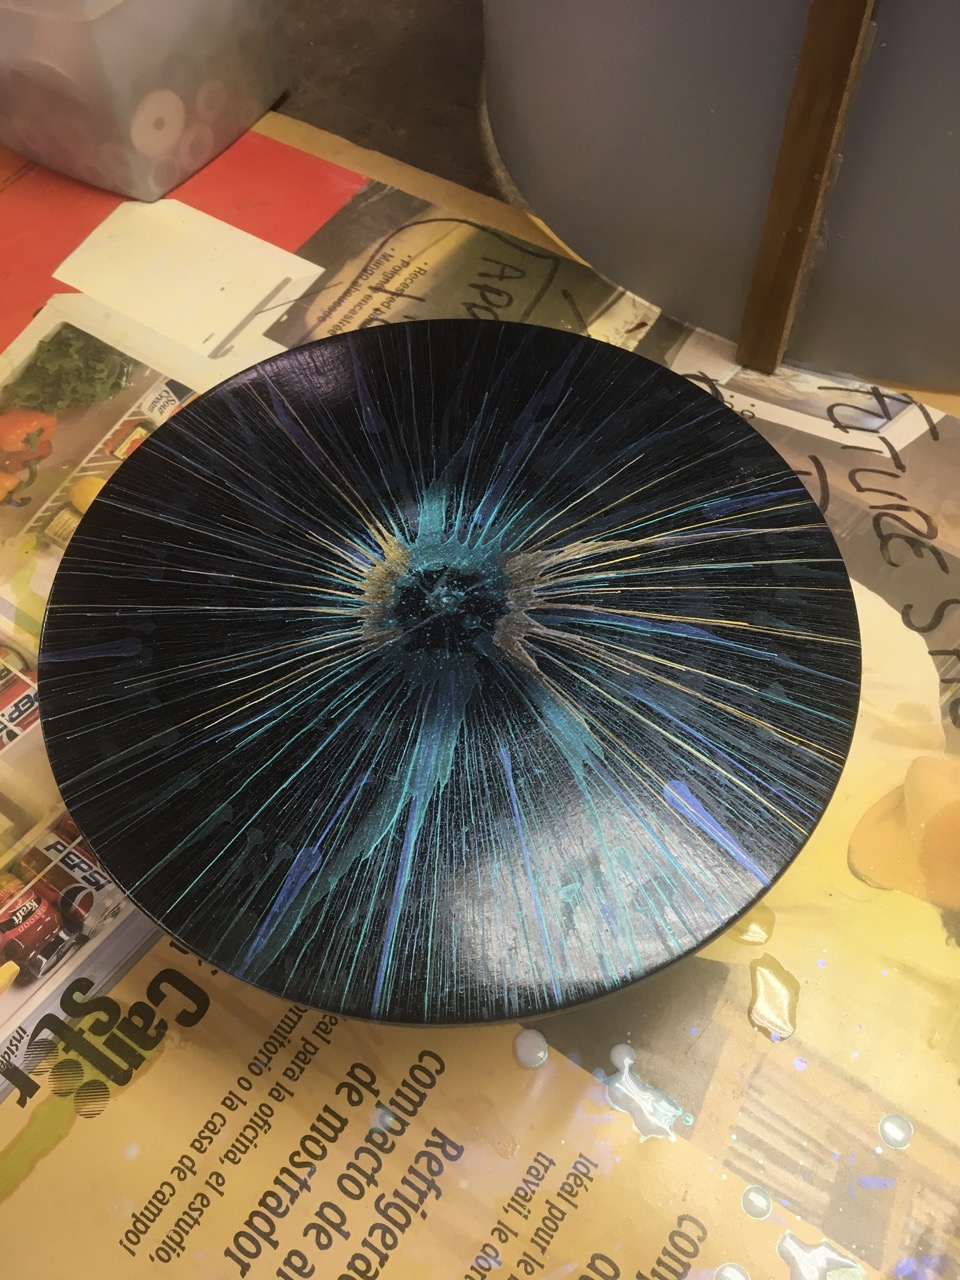
I am most interested in the ability to have the paint/dye move from the center or other locations in curved line.


June 30, 2016

Wooden Rings

I have been watching with some interest individuals on the net especially on Instagram who make wooden rings.
I am not much of a jewellery person but I thought I’d like to learn to make wooden rings from woods I have in my shop.
I soon learned that solid wood rings are not really the way to go because of grain issues which make rings made this way quite fragile. I noticed some people adding a thin lining of antler and because I had a chunk of old moose antler laying around I thought why not.
My first four attempts were with an outer ring of solid Desert Ironwood with a moose antler lining. They are a little big and are not that comfortable, but wearable.
Next I thought I should try ‘bent wood’ rings. I have a large pile of veneer laying around from a previous idea and thought I would give them a try but all the boiling and mico-waving etc. etc. I soon gave up on that idea.
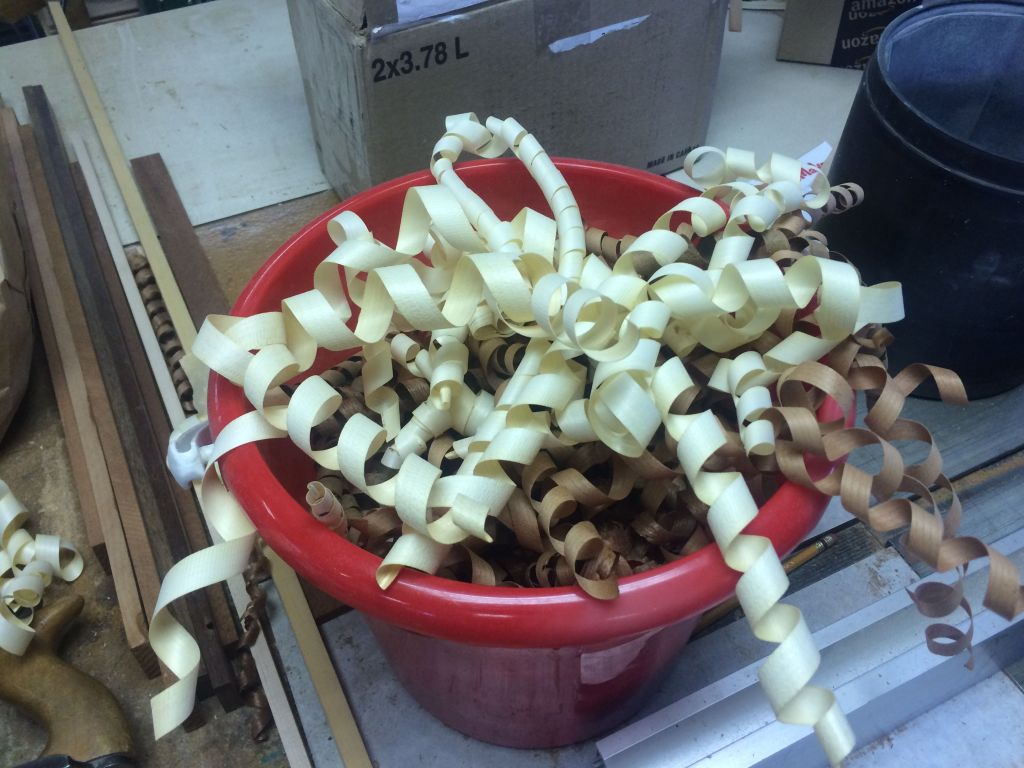
The next method I decided on was ‘bent wood’ rings made from shavings or curlies that are cut from a suitable piece of wood with a sharp wood plane. These are just outright fun to make. I have now settled on this process and am really enjoying the exercise.
Here is a photo of the strips I am using.

IMG_2739

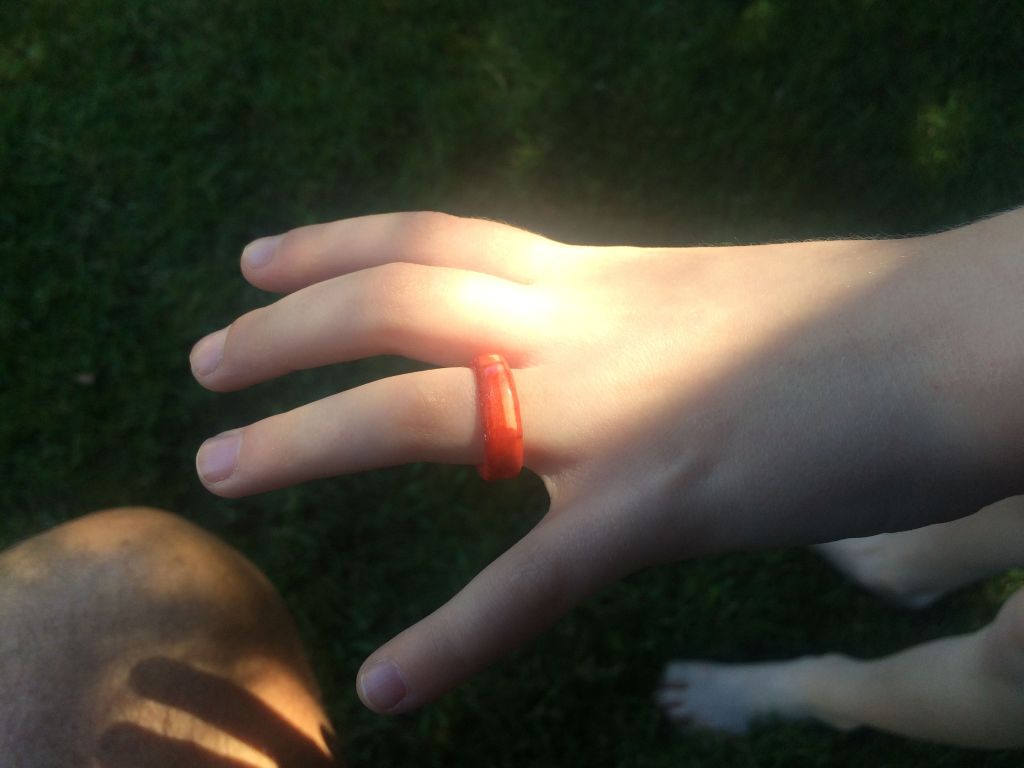
And a shot of the ‘pink’ one I made for my Grand daughter!

IMG_2735

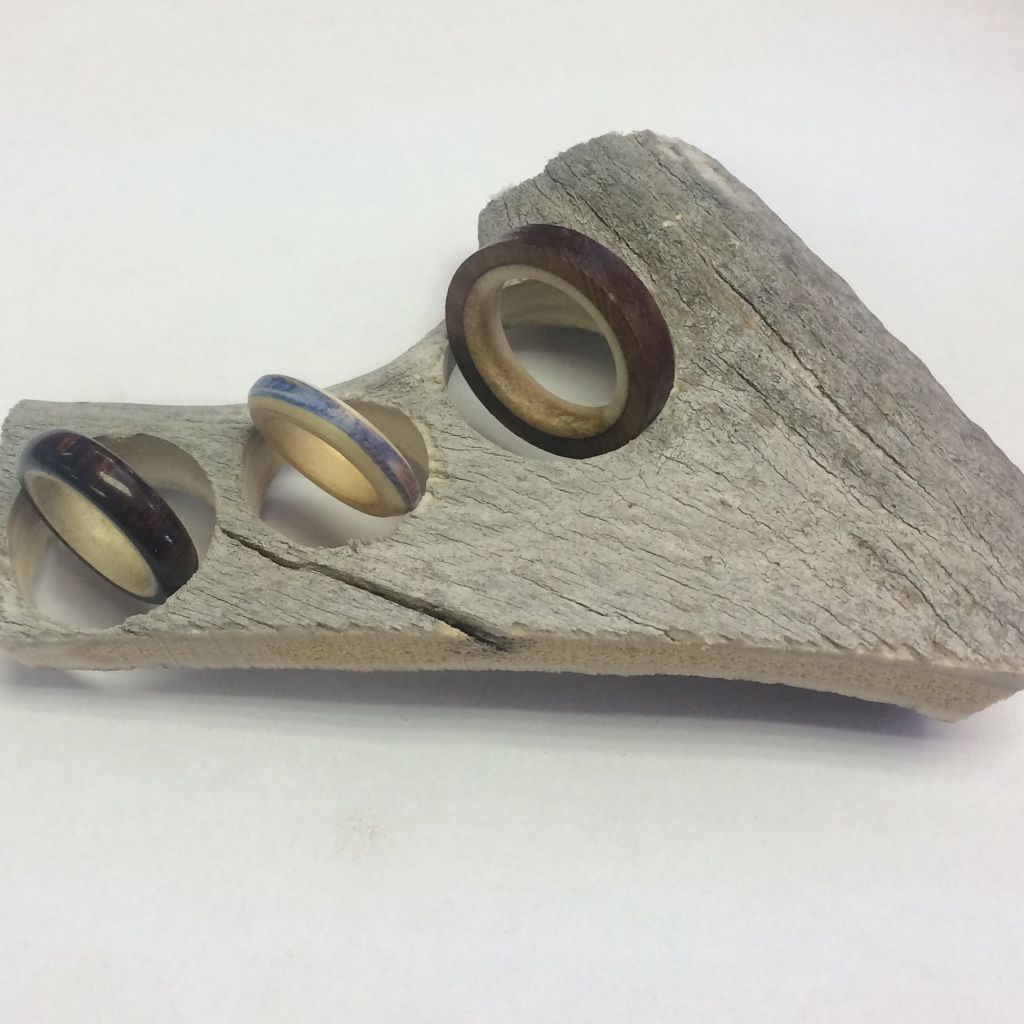
Lastly, three rings, the left one is one I made for myself with Desert Ironwood c/w a moose antler liner. The middle ring is a ‘tie dyed’ one that currently lives in my lovely wife’s jewellery box, when she isn’t wearing it and the right one is similar to the first only much larger (although unfinished in this photo it is now done) which I made for, and gave to my son today!!

If anyone is interested in the process I will be adding another blog with photo’s of the process I use.

IMG_2742

June 28, 2014

Re-cobbled

The continuing saga of my path to discover an ‘easy’ way to sand the inside of hollow forms.
If you read the previous post and are following along then here is the next edition.

I previously purchased a rock tumbler at a garage sale this is a much faster turning devise than either of the BBQ motors I was trying earlier.

With the increase in speed I can in two days get the same revolutions I was getting in 2 weeks. I do realize that at some point if it spins too fast the glass will just cling to the outer walls and not tumble or grind the inside of the hollow form as I intend to.

The rock tumbler uses a 1725 rpm motor connected to a 1.5″ dia pulley which is then connected with a vee belt to a 9″ pulley. Please feel free to correct me if I’m wrong but by my calculations this devise now spins my hollow forms at  287.5 RPM. I wondered if it might be too fast but I can hear the glass and marbles (yes I have included marbles this time around) sliding and grinding as it spins. I am certainly not a machinest and the part that is in between my chuck and the shaft of the pillow block is not a tight fit and as a result the chuck ‘wobbles’ a little which i believe may add to it’s ability to sand.

Here’s a shot of my ‘re-cobbled’ devise.

IMG_3203

I tip it slightly toward the bottom and alternately the top in an attempt to get the glass and the marbles working more on the ends where the torn grain is. I try to tip it about about 2″ and run about half time with it tipped each way.

Here is a comparison shot of one piece before sanding and after about 300,000 rotations.

IMG_3210

And a closeup of the one on the right.

IMG_3208

I think you can see quite an improvement as far as sanding and removal of ridges goes but as you can see it hasn’t cleaned up the torn end grain.

If I was to do a finished Hollow form I would spend a little more time with my tools to try to minimize the torn grain prior to using my sanding devise.

Please feel free to email me if you have any comments or questions.

April 6, 2014

West Coast Haida Art

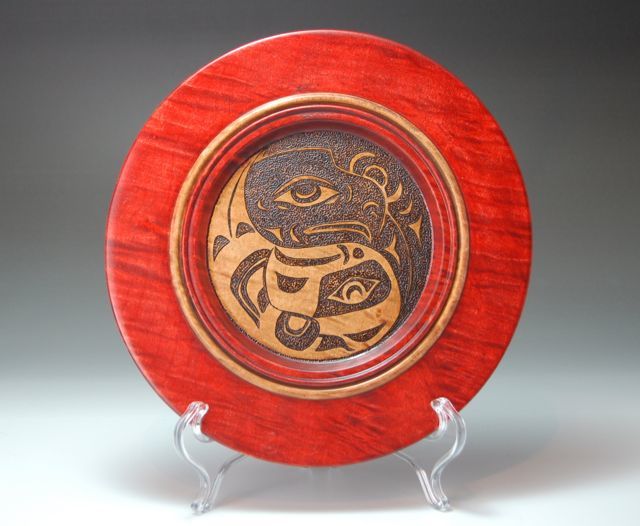
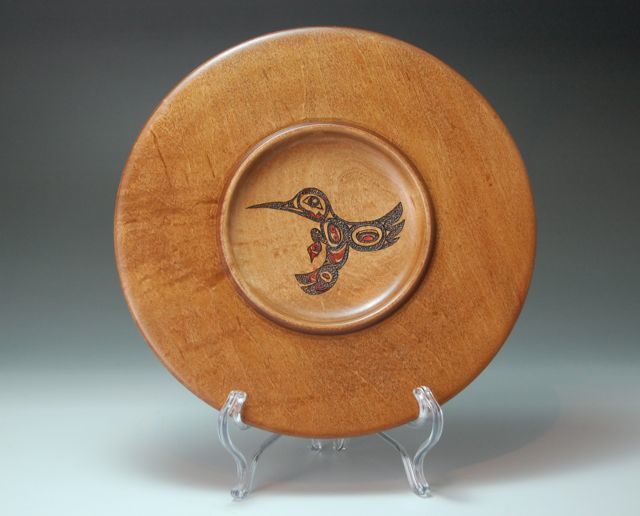
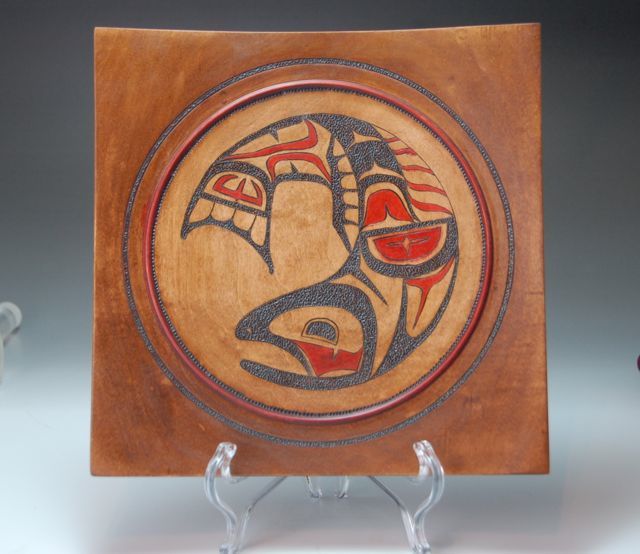
I’ve always admired the skill and color of Haida art. Below you will find a few pieces that I have made in an attempt to honour this art form.

DSC_7849

DSC_7847 DSC_7844

March 16, 2014

MOLLY WINTON – WORKSHOP

Friday last was the day I had been looking forward to for a couple of months. My date with Molly!
Well I was not to be disappointed.
After the 1 1/2 hour drive including having my GPS take me to the wrong address I finally wound up at Bow River Woods. I never did find any sort of sign the establishment but those in the know seem to be able to find it with little directions.
There were 10 attendees in all.
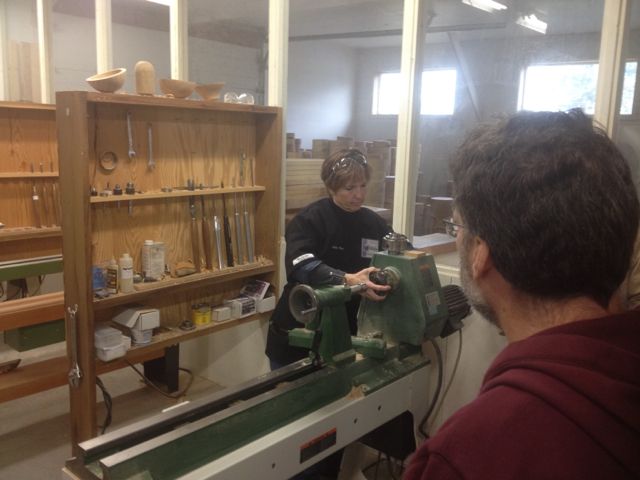
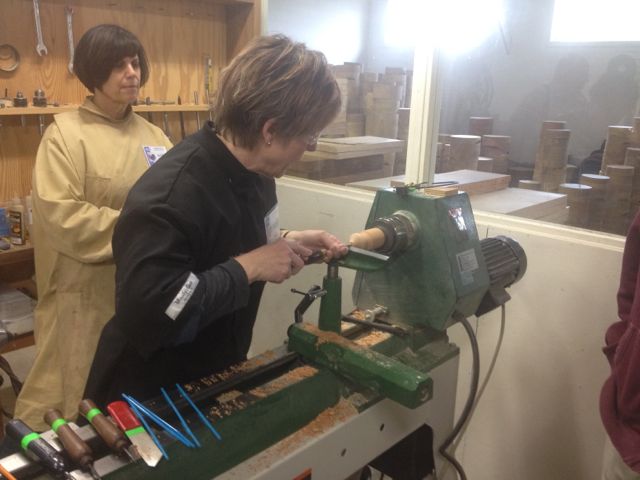
Molly started off, after introducing herself, by asking each of us why we were there and what we hoped to gain from the experience. From there she tried to accommodate all interests. She started by turing a miniature hollow form. Molly turns most of her miniature pieces in spindle orientation and really likes to turn green. This is the type of work she is most known for. Her communication and lathe skill are really good although I believe the small hollow form really didn’t let us get too good a look at all her abilities. Through out the turning she would stop and talk about tools, good design and what works especially for her.

She didn’t have a good torch but described the process of making hollowing tools from Allen wrenches, which she used to hollow the miniature form.

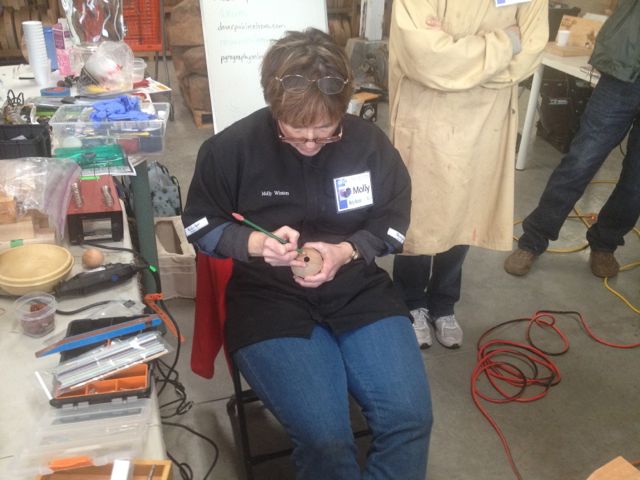
IMG_2765 IMG_2767

Once the hollow form was complete we moved back to our tables and were coached in burning techniques and preparation of tools. Then were given some time to practice. From there we were shown her method of making the ‘brands’ she uses to embellish her work. Including a ‘basket weave’ brand and a ‘spiral’ brand. She had both for sale but suggested that we should probably save money by just making them ourselves.

She briefly discussed the tricks she has developed in making her own buying hand pieces, pretty cool. I will certainly try to make a few myself. Just cause I’m cheap!
Molly spirit and easy manner made the whole experience most satisfying, it was almost as if it was just a bunch of long time friends getting together to share experiences.
Molly then demonstrated how she carves the tops of some of her forms to make here signature three cornered top. This was pretty cool and she completed it in the wink of an eye.

IMG_2769

She followed that up with tips regarding a whole lot of specialized finishing and colouring techniques which I found most interesting.

I had taken a strange burning tool I had bought at a garage sale, manufactured in Columbia, which had about 100 brands, Molly as well as other attendees found very interesting,  toward the end, Molly offered to trade one of her miniatures for several of the brands which surprisingly fit in her burning hand pieces. I was most happy to bring one of her signed pieces home.

All in all it was a great day!

Create a free website or blog at WordPress.com.