woodbowlsandthings

February 13, 2018

Colouring Wood

Filed under: Art, Silver Maple, Wood Lathe — Tags: , , , , , , , — peteblair @ 12:41 pm

I know it’s probably been done to death but here is how I add color and pop to some of my wood turning.
I first start by turning to shape and sanding to about 220.

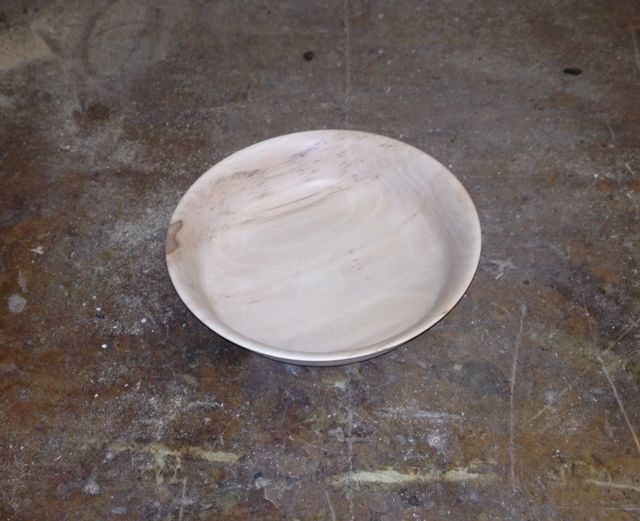
This piece is destined to have some sort of blow paint applied after the dye and then a shallow bowl turned in the center. I want a dark green for this piece.

Next I apply black Leather Dye.

Once this is dry I then sand it back quite aggressively with 220 grit.

At this point the piece could be complete. Ed Pretty from my Guild has finished at this stage and the piece was wonderful. I plan to go further and on this piece I wanted a little more black so another coat of the Leather Dye.

This is again aggressively sanded back.

I like this better and stopped  here. While most people seem at this point to go with the darker color I sometimes go light first and then the dark. In this case, Yellow and then Blue for the dark green I’m after.

Sanded back again but less aggressively leaving quite a lot of the yellow showing. I then applied the dark blue dye.

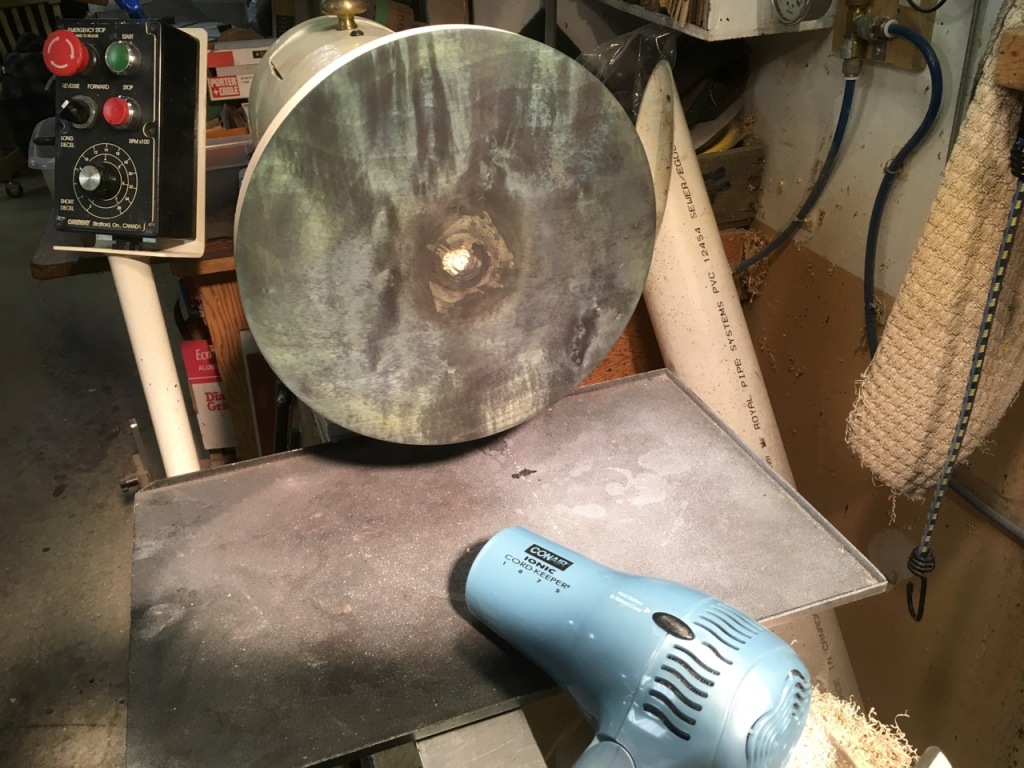
Doesn’t look like too much here but after a very light sanding with 400 here is what I have. A Hair dryer is sometimes used at various stages to hurry the project along.

A couple of coats of sanding sealer with light sanding in between.

Then on to my finishing turntable and a few coats of clear lacquer.

Now all it needs is the blow paint. I’m thinking gold iridescent but I might add a little yellow. Sorry no finished piece yet because I am in Hawaii and this piece will have to wait another week or so for me to get to it. I’ll add photos of the finished piece as soon as I have it done.

June 30, 2016

Wooden Rings

I have been watching with some interest individuals on the net especially on Instagram who make wooden rings.
I am not much of a jewellery person but I thought I’d like to learn to make wooden rings from woods I have in my shop.
I soon learned that solid wood rings are not really the way to go because of grain issues which make rings made this way quite fragile. I noticed some people adding a thin lining of antler and because I had a chunk of old moose antler laying around I thought why not.
My first four attempts were with an outer ring of solid Desert Ironwood with a moose antler lining. They are a little big and are not that comfortable, but wearable.
Next I thought I should try ‘bent wood’ rings. I have a large pile of veneer laying around from a previous idea and thought I would give them a try but all the boiling and mico-waving etc. etc. I soon gave up on that idea.
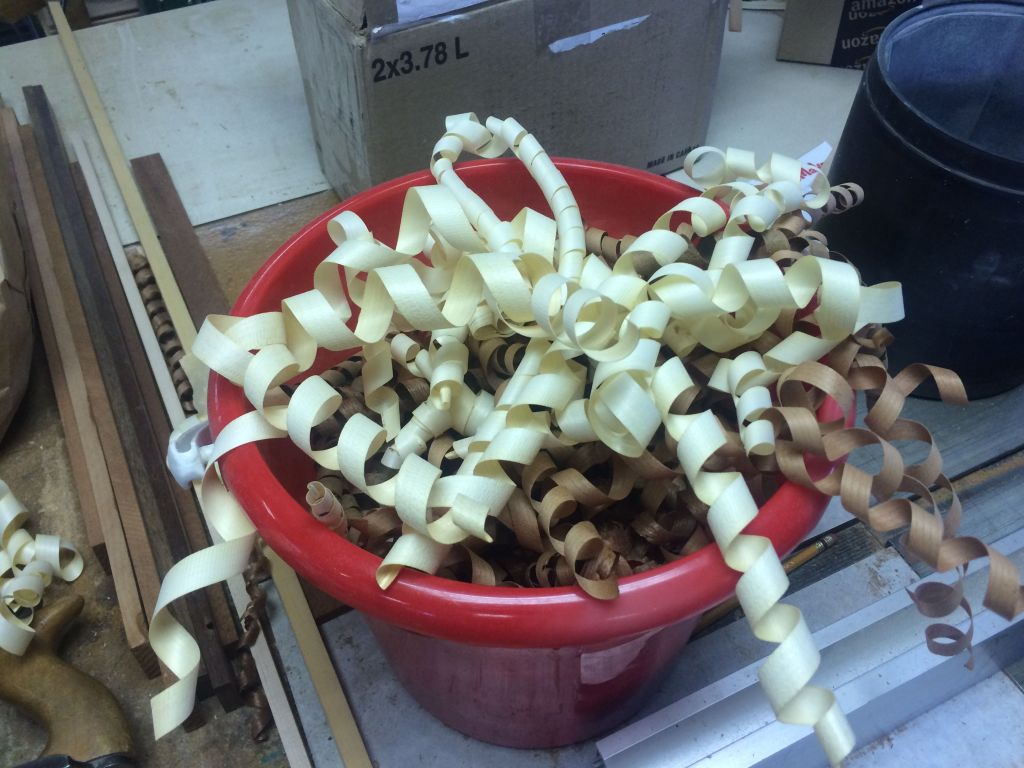
The next method I decided on was ‘bent wood’ rings made from shavings or curlies that are cut from a suitable piece of wood with a sharp wood plane. These are just outright fun to make. I have now settled on this process and am really enjoying the exercise.
Here is a photo of the strips I am using.

IMG_2739

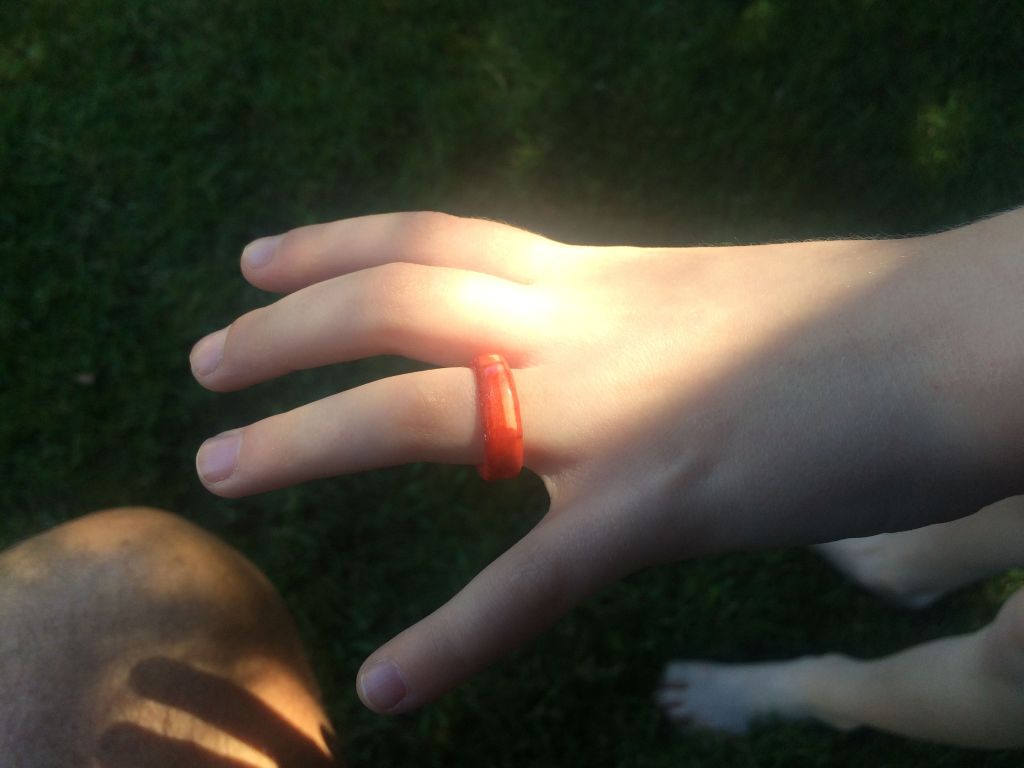
And a shot of the ‘pink’ one I made for my Grand daughter!

IMG_2735

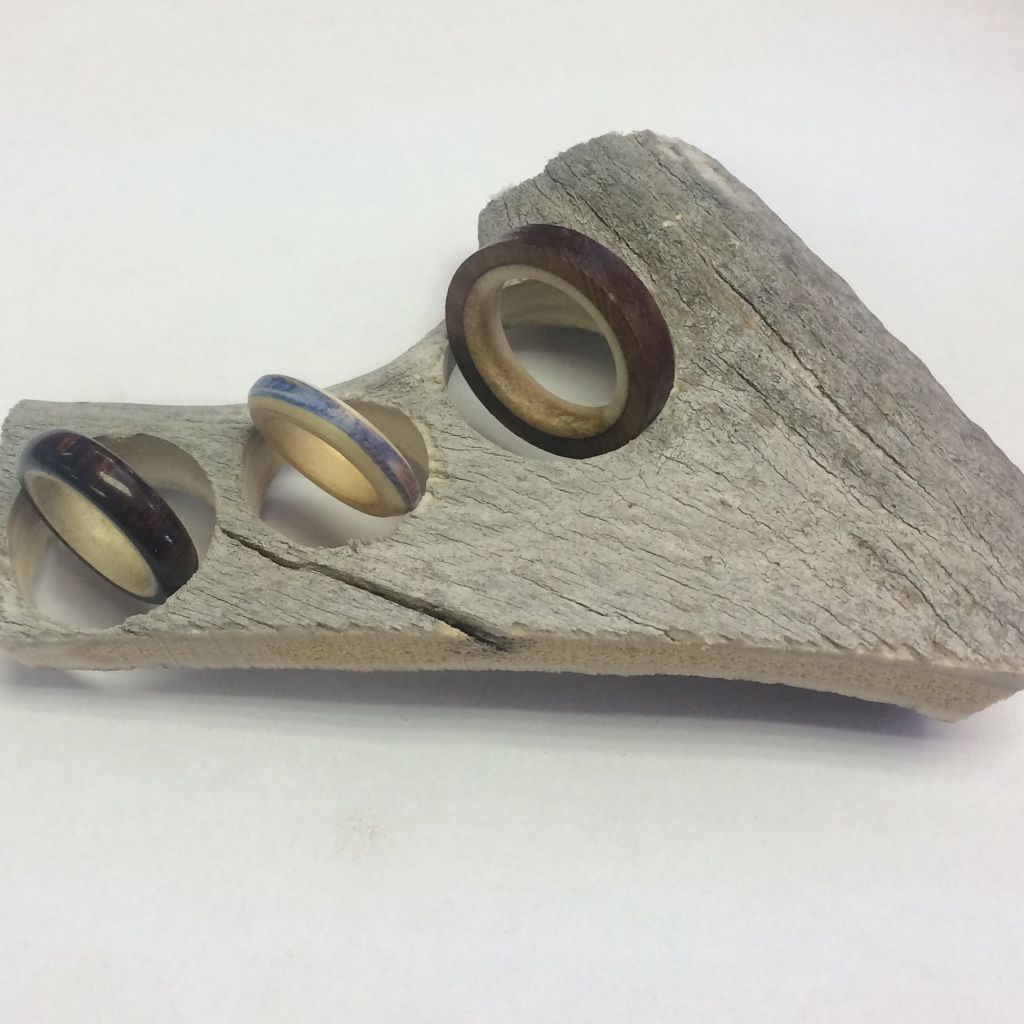
Lastly, three rings, the left one is one I made for myself with Desert Ironwood c/w a moose antler liner. The middle ring is a ‘tie dyed’ one that currently lives in my lovely wife’s jewellery box, when she isn’t wearing it and the right one is similar to the first only much larger (although unfinished in this photo it is now done) which I made for, and gave to my son today!!

If anyone is interested in the process I will be adding another blog with photo’s of the process I use.

IMG_2742

June 28, 2014

Re-cobbled

The continuing saga of my path to discover an ‘easy’ way to sand the inside of hollow forms.
If you read the previous post and are following along then here is the next edition.

I previously purchased a rock tumbler at a garage sale this is a much faster turning devise than either of the BBQ motors I was trying earlier.

With the increase in speed I can in two days get the same revolutions I was getting in 2 weeks. I do realize that at some point if it spins too fast the glass will just cling to the outer walls and not tumble or grind the inside of the hollow form as I intend to.

The rock tumbler uses a 1725 rpm motor connected to a 1.5″ dia pulley which is then connected with a vee belt to a 9″ pulley. Please feel free to correct me if I’m wrong but by my calculations this devise now spins my hollow forms at  287.5 RPM. I wondered if it might be too fast but I can hear the glass and marbles (yes I have included marbles this time around) sliding and grinding as it spins. I am certainly not a machinest and the part that is in between my chuck and the shaft of the pillow block is not a tight fit and as a result the chuck ‘wobbles’ a little which i believe may add to it’s ability to sand.

Here’s a shot of my ‘re-cobbled’ devise.

IMG_3203

I tip it slightly toward the bottom and alternately the top in an attempt to get the glass and the marbles working more on the ends where the torn grain is. I try to tip it about about 2″ and run about half time with it tipped each way.

Here is a comparison shot of one piece before sanding and after about 300,000 rotations.

IMG_3210

And a closeup of the one on the right.

IMG_3208

I think you can see quite an improvement as far as sanding and removal of ridges goes but as you can see it hasn’t cleaned up the torn end grain.

If I was to do a finished Hollow form I would spend a little more time with my tools to try to minimize the torn grain prior to using my sanding devise.

Please feel free to email me if you have any comments or questions.

April 27, 2014

Latest Haida work

I continue to turn lots of things on my lathe and like to share them here.

Lately I have been experimenting with Haida Motifs and am really pleased with the way they have been turning out.

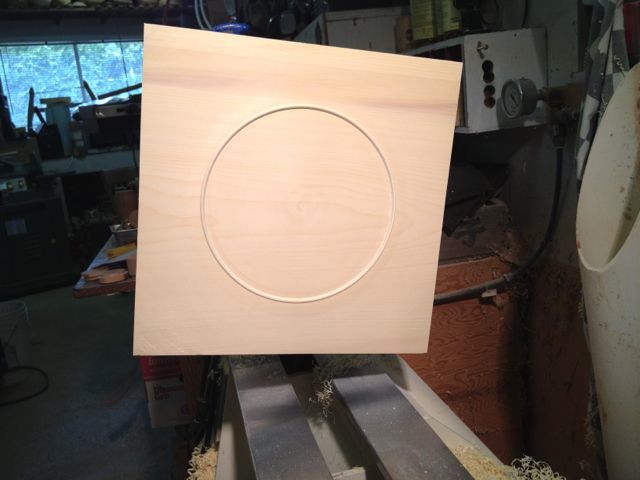
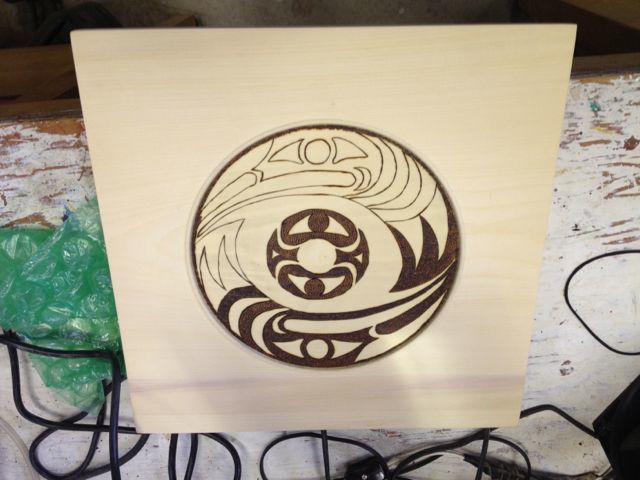
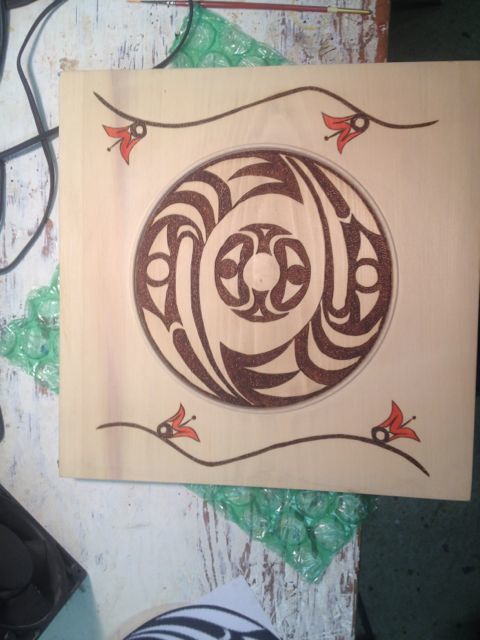
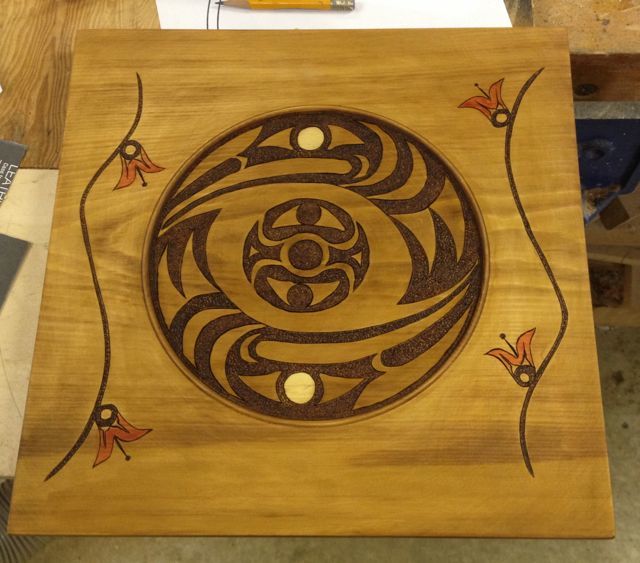
Here’s a few shots of a 12″ square Yellow Cedar Plate/Platter I first turned then burned and finally added some colour.

As you can see these are pictures taken in my workshop at various stages.

The first is the platter with a turned bead, prepared for embellishment.

The second is the beginning of the pyrography.

The third is with colour added to the Honeysuckle.

The final is the finished product.

Many items are available for sale on my web site Woodbowlsandthing.com.

IMG_2868 IMG_2869 IMG_2870 IMG_2877r.

March 8, 2014

Molly Winton – Whoo Hoo!!

Whoo Hooo!!!!

Next Friday I am going to attend my very first all day turning workshop, this with Molly Winton.

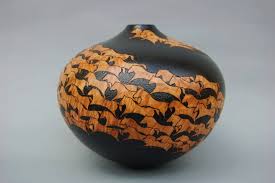
Molly is an artist who’s work I have admired from a far for a very long time. Here’s and example of Molly’s work, this is  one of my favourite pieces.

MollyW

Here’s  a link if  you would like a closer look.

http://www.turningmaven.com

Did I say I am really stoked.

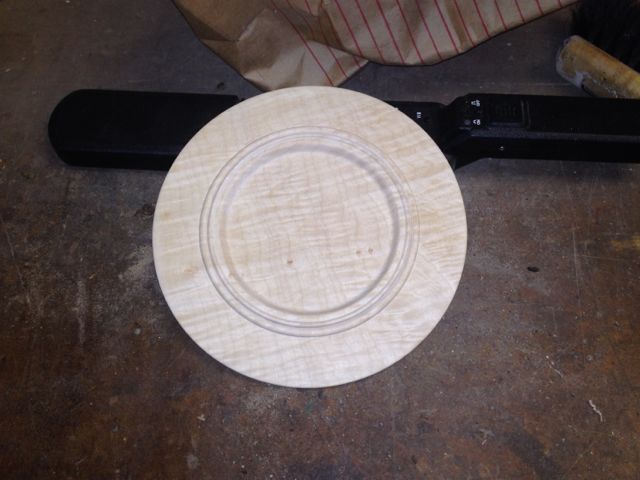
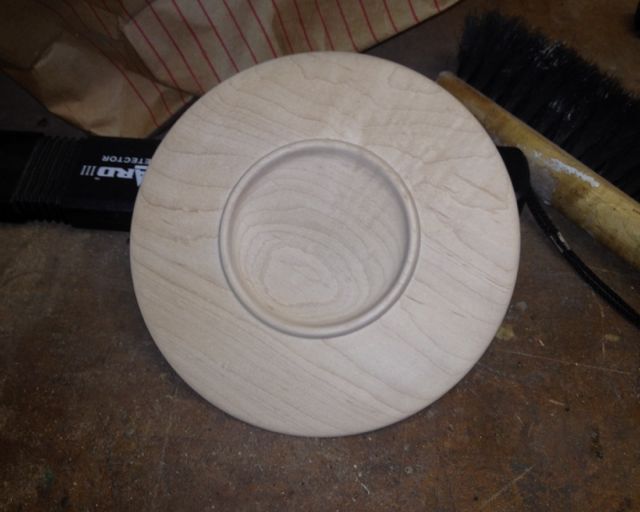
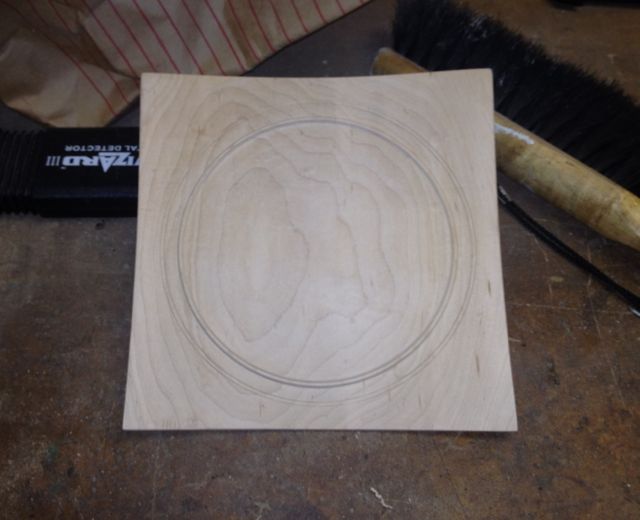
Here are a few pictures of the practice pieces I will take with me in the hope that Molly will provide me with some ideas and techniques to make them really special.

IMG_2746 IMG_2747 IMG_2748 IMG_2749 IMG_2753

I’ll be back next week to describe the experience!

January 7, 2012

Color or is it colour?

Filed under: Uncategorized — Tags: , , , , , , , , — peteblair @ 2:45 pm

My first venture into wood dying has been interesting. I am finding that the most difficult part is knowing when to stop. There are so many options when dying wood that one needs to reign in the fascination with color to ensure that the grain shows through.

Here’s my first piece “Pacific Sunset”. It is spalted maple with a blue dye and I added a few sea birds to add to the interest.

I hope you like it.

Create a free website or blog at WordPress.com.